Unblock Your Internet: Building a Stealth V2Ray VPN on Azure
A comprehensive guide to setting up a stealth V2Ray VPN on an Azure Linux server to bypass internet censorship and access blocked services, using HTTP masquerading.
Feeling Blocked?
In many regions, common VPN protocols like WireGuard and OpenVPN are increasingly detected and blocked by network firewalls. This can be incredibly frustrating when you just want to access an open internet. If you have an Azure (or any cloud) server and are experiencing these restrictions, this guide is for you. We'll walk through setting up your own "stealth" VPN using V2Ray on an Azure Linux server, designed to mimic regular web traffic and bypass even the most aggressive blocking.
Why V2Ray?
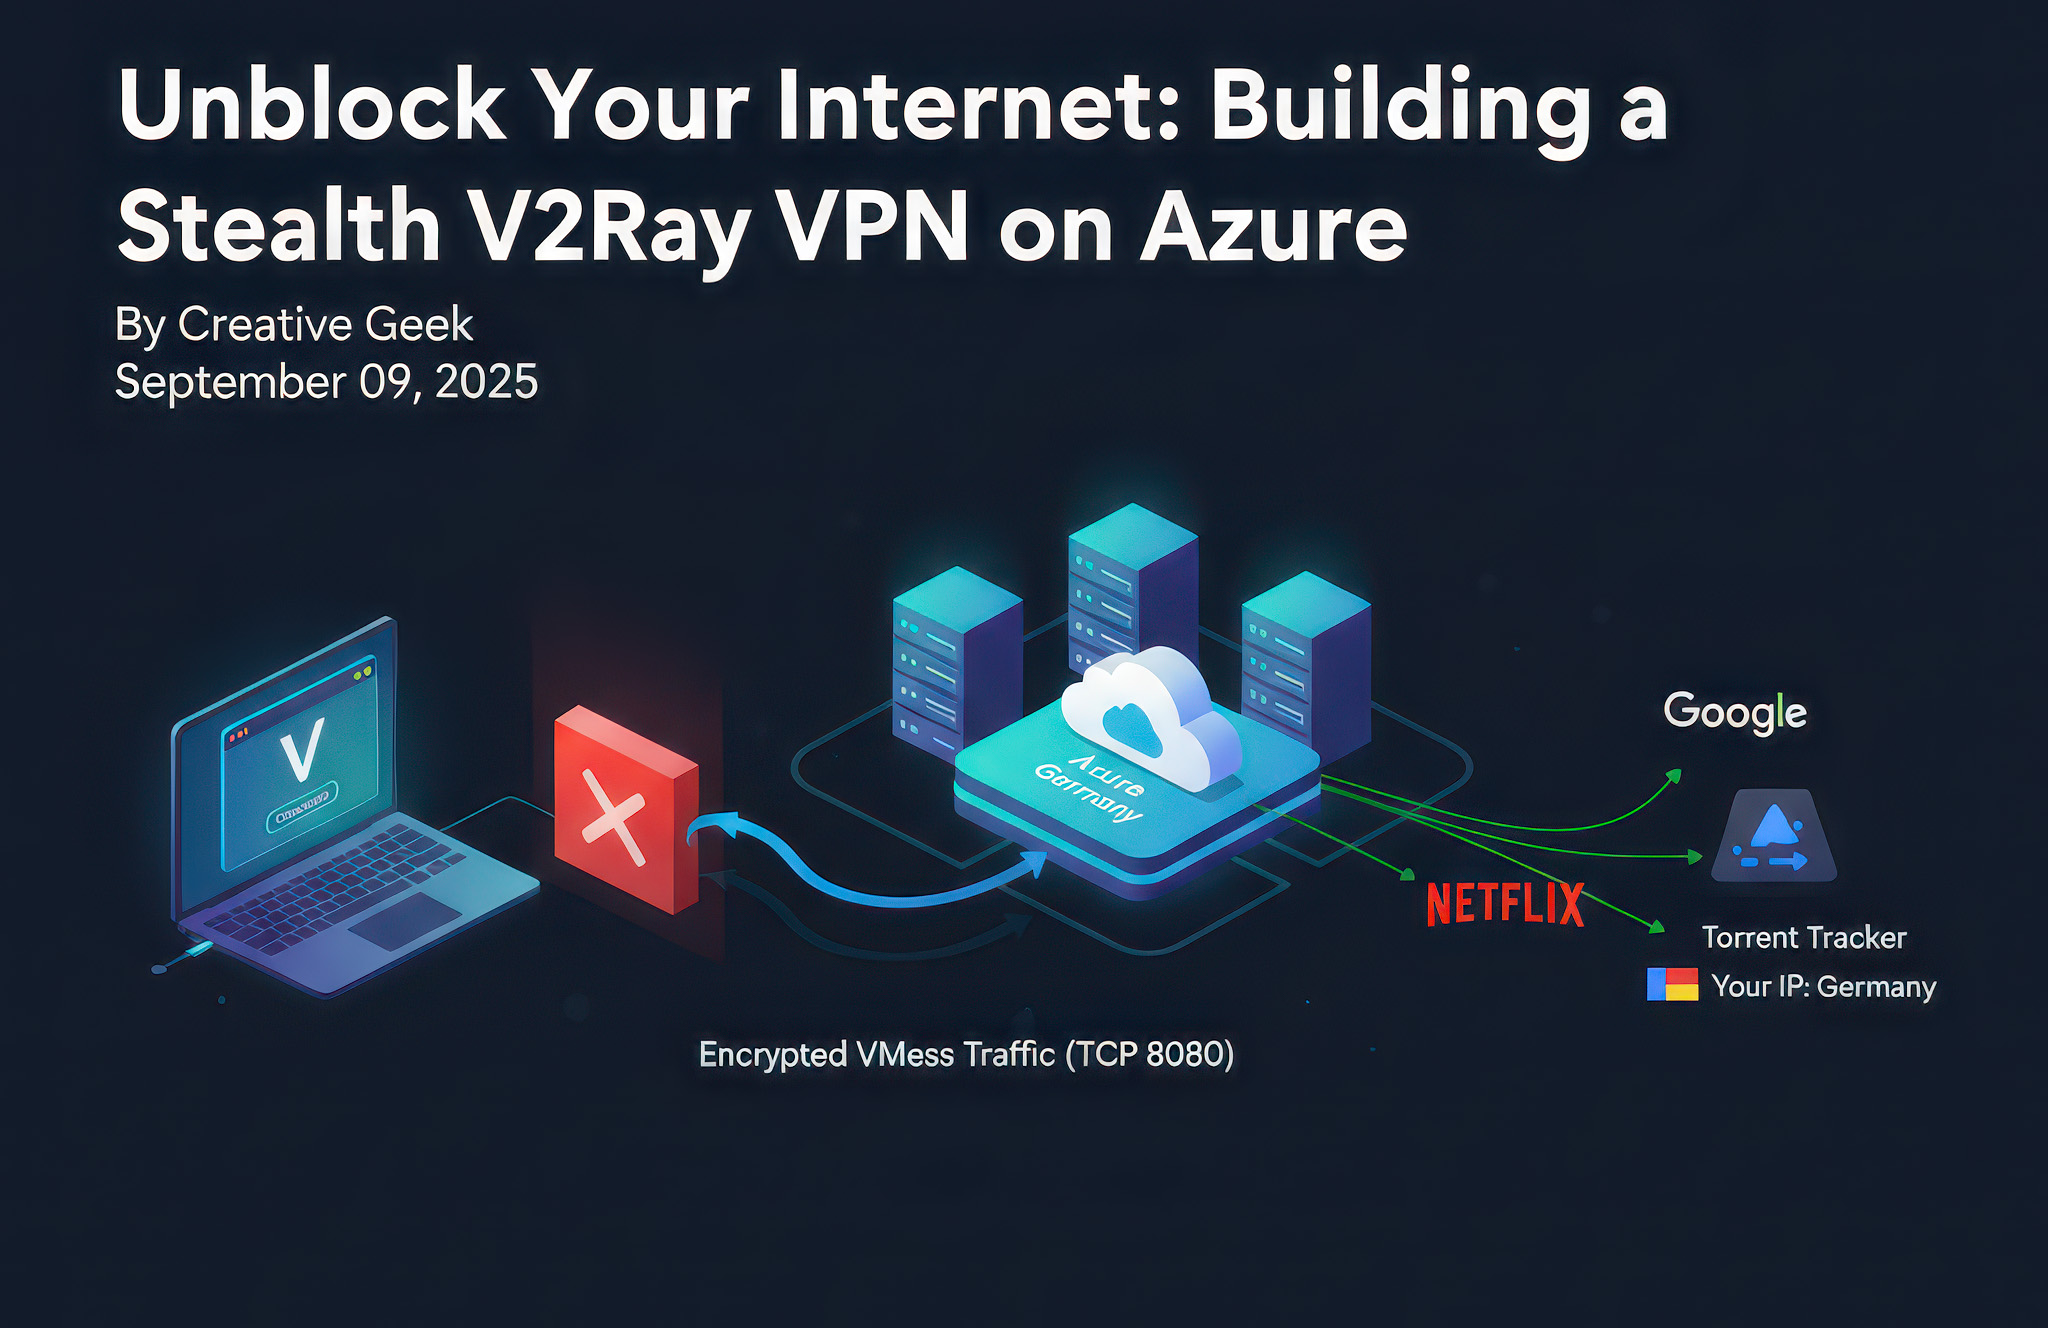
V2Ray is a powerful platform for building your own custom proxy. Unlike traditional VPNs, it offers highly customizable protocols and obfuscation techniques. We'll be using its VMess protocol over TCP with HTTP header masquerading. This makes your VPN traffic look like ordinary web browsing (e.g., visiting www.google.com), effectively hiding it from deep packet inspection.
Prerequisites
- An Azure (or any cloud) Virtual Machine running Ubuntu Linux (Germany region, in my case).
- SSH access to your Azure server.
- A Windows PC to use as your client.
Step 1: Install V2Ray on Your Azure Server
Connect to your Azure server via SSH. We'll use the official V2Ray installation script.
-
Update packages and install
unzip: This ensuresunzip(a dependency) is present and your package manager is up-to-date.sudo apt update && sudo apt install unzip -y -
Install V2Ray: Use
curlto download the installation script and pipe it directly tosudo bashfor execution with root privileges.curl -L https://raw.githubusercontent.com/v2fly/fhs-install-v2ray/master/install-release.sh | sudo bashYou should see output indicating V2Ray is being installed.
Step 2: Configure V2Ray for Stealth (VMess over TCP/HTTP)
Now, we'll edit the V2Ray configuration file to enable our stealth protocol.
-
Generate a Unique User ID (UUID): This is your secret key for connecting.
cat /proc/sys/kernel/random/uuidCopy the output (e.g.,
c3424e6-aacc-4342-aca8-8c8456ecbc82). -
Edit the V2Ray configuration file:
sudo nano /usr/local/etc/v2ray/config.json -
Replace the content with the following, making sure to:
- Replace
"YOUR_UUID"with the UUID you generated. - Optionally, change
your_email@example.comto any identifier email (doesn't need to be a working email).
{ "inbounds": [ { "port": 8080, "protocol": "vmess", "settings": { "clients": [ { "id": "YOUR_UUID", "alterId": 64, "email": "your_email@example.com" } ] }, "streamSettings": { "network": "tcp", "tcpSettings": { "header": { "type": "http", "request": { "path": ["/"], "headers": { "Host": ["www.google.com"] } } } } } } ], "outbounds": [ { "protocol": "freedom", "settings": {} } ] } - Replace
-
Save and exit
nano: PressCtrl+X, thenY, thenEnter.
Step 3: Start V2Ray and Configure Firewall
-
Start and enable V2Ray service: This ensures V2Ray runs and restarts automatically on boot.
sudo systemctl restart v2ray
sudo systemctl enable v2ray
Verify it's running:
sudo systemctl status v2rayLook for
Active: active (running). -
Configure Azure Network Security Group (NSG):
- Go to your Azure portal.
- Navigate to your Virtual Machine's Network Security Group (NSG).
- Add an inbound security rule. Use these settings:
- Source: Any
- Source port ranges:
* - Destination: Any
- Service: Custom
- Destination port ranges:
8080 - Protocol: TCP
- Action: Allow
- Priority: (e.g.,
310) - Name:
Allow-V2Ray-Port-8080(or similar) - Description:
Allows inbound TCP traffic on port 8080 for V2Ray service.
Step 4: Configure V2Ray Client on Windows
-
Download v2rayN: Get the latest
v2rayn-windows-64-desktop.zipfrom the v2rayN GitHub releases page. Extract it to a folder. -
Run
v2rayN.exe: -
Add a new VMess server: Go to Servers > Add [VMess] server.
- Alias (remarks):
AzureServer(or any name you prefer) - Address: Your Azure server's public IP address.
- Port:
8080 - UUID (id): Paste the UUID you generated earlier.
- Alter ID:
64 - Encryption method (security):
auto - Transport protocol(network):
tcp - Camouflage type:
http - Camouflage domain(host):
www.google.com - Path:
/ - Click Confirm.
- Alias (remarks):
Step 5: Connect and Enjoy Unrestricted Internet
- Set as active server: In the main v2rayN window, right-click your
AzureServerprofile and select Set as active server. - Test server (TCPing): Right-click again and select Test server(TCPing). You should see a positive delay value (e.g.,
90ms), indicating a successful connection. - Enable system proxy: Right-click the v2rayN icon in your system tray (bottom-right of your screen), go to Http Proxy, and select Set system proxy.
Congratulations! Your internet traffic is now routed through your Azure server in Germany, disguised as regular web traffic. You can verify your new IP address by visiting sites like whatismyip.com.